
Snowflake Photography
Examine the crystal structures of snow
Snowflakes come in all sort of shapes. To see, you just need a snowy day and something to catch snowflakes on.
What you need
Dark piece of cloth (or clothing)
Camera or magnifying lens
Examining snowflakes
Looking at snowflakes is simple. Find a dark cloth (or a piece of clothing like a scarf) and go outside when it’s snowing to catch snowflakes. They’ll melt quickly, but that’s part of the fun. If you have a magnifying glass, try taking a closer look.
Snowflake photos
If you have a camera, try taking a picture. It’s tricky, but a photo will let you look closer later on. A phone will do the trick, but a nicer camera might give better results. Try to get good lighting and look for the best snowflakes that land on your dark cloth.
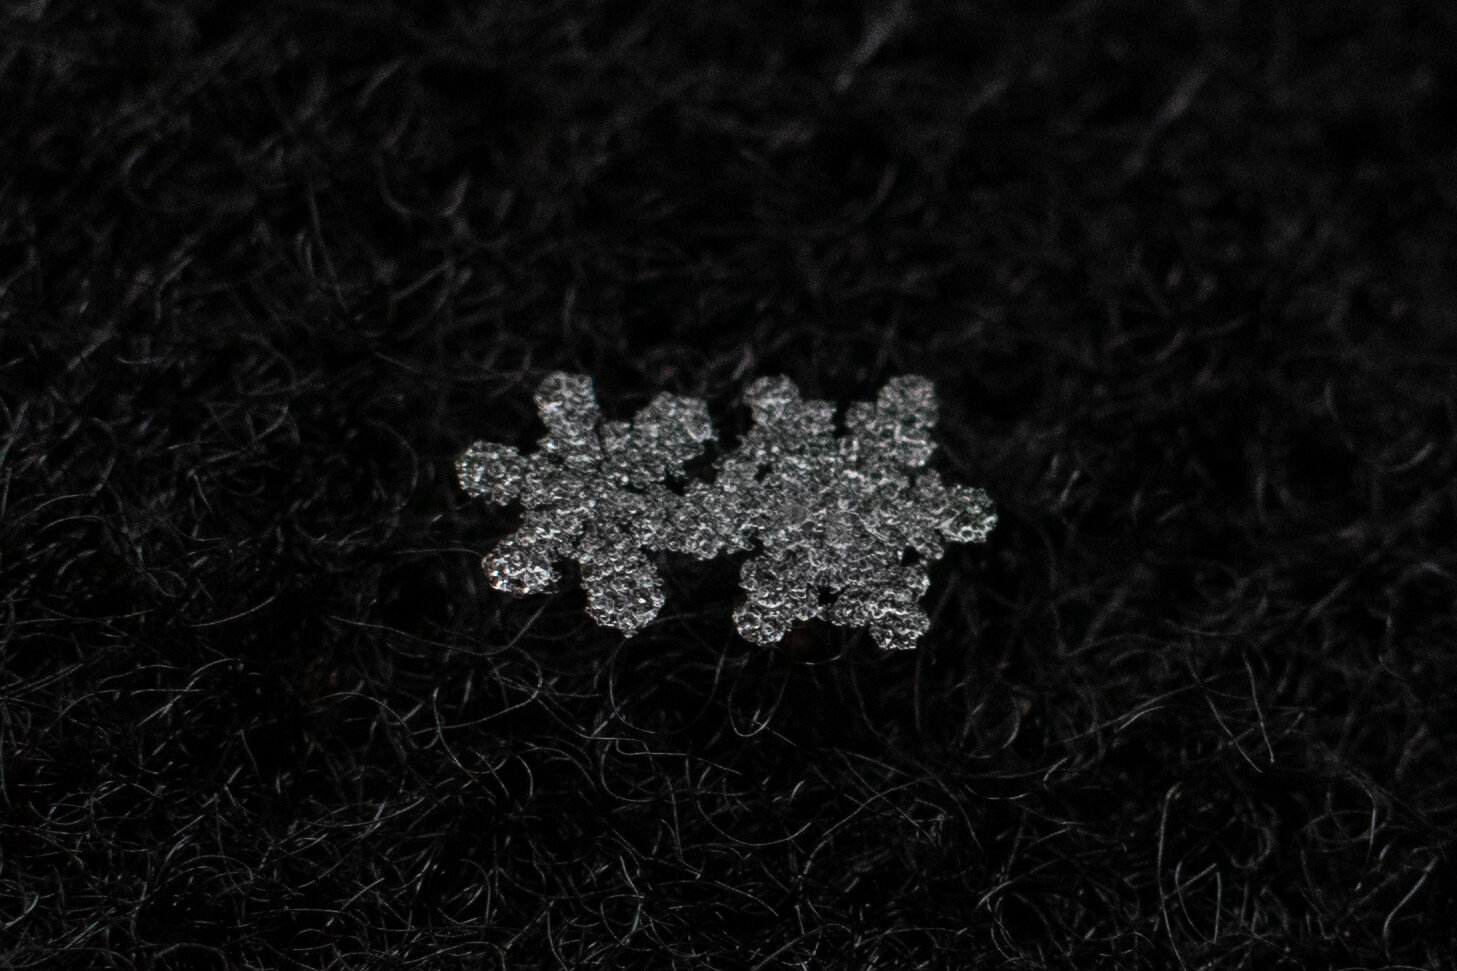
Here are some snowflake photos. These were taken with a Nikon d5600 camera with manual settings, using an extension tube on the kit lens to get a closer focus. Cameras like this are expensive and can be tricky to use, so try using a magnifying glass first. Or see if you can borrow a camera from someone you know.
Lots of people know more about snowflake photos than me, and you can find really fantastic images on other websites. But don’t worry about being perfect. Just get out there and experiment with what you have!
Click on the photos to see bigger version. The bumpy appearance is due to rime ice.


Examining your find
What do you see? On many days, the snowflakes may be broken or clumped together. Sometimes you’ll see wonderful six-sided shapes. Try looking at a few different times or days to see if the structures change.
Read up on snowflake shapes (one webpage is here), then find a snowflake to look at. If it’s not snowing, feel free to use one of the photos above. What do you think determined the snowflake’s shape?
There’s a wonderful complexity to snowflake shapes, and neat science too!